In this tutorial, we’ll show you how to build a simple single-page app using Firebolt®, including fundamentals like importing modules and how to use the Device and Lifecycle modules. This is designed with the following assumptions:
You have some experience with the basics of programming (building apps, working with APIs, etc.) and have some experience working with the JavaScript programming language, including ES6 modules.
You know what single-page apps are and how they work.
You understand JavaScript runtime tools like Node and NPM.
You understand how to install and use JavaScript packages on your local machine.
What you'll learn
How to import Firebolt modules.
How to listen for events from the Lifecycle and Device modules.
What you'll do
Install the necessary dependencies for this tutorial.
Create a blank project using Lightning™, which is the UX framework this guide uses.
Install the Firebolt SDK, allowing you to build a Firebolt App.
Generate and build your app in a browser.
Explore and view the app you've built.
What you'll need
A computer running Windows, Linux, or a Mac running macOS.
Internet access or an alternative way of loading the latest Firebolt SDK and Lightning JavaScript framework onto your computer.
NodeJS available on your machine.
Visit Download Node.js to install Node.
Lightning Studio. No prior knowledge of Lightning is required, but it is a required dependency for this project.
To install Lightning , use your machine's command-line interface (CLI) and input the command:
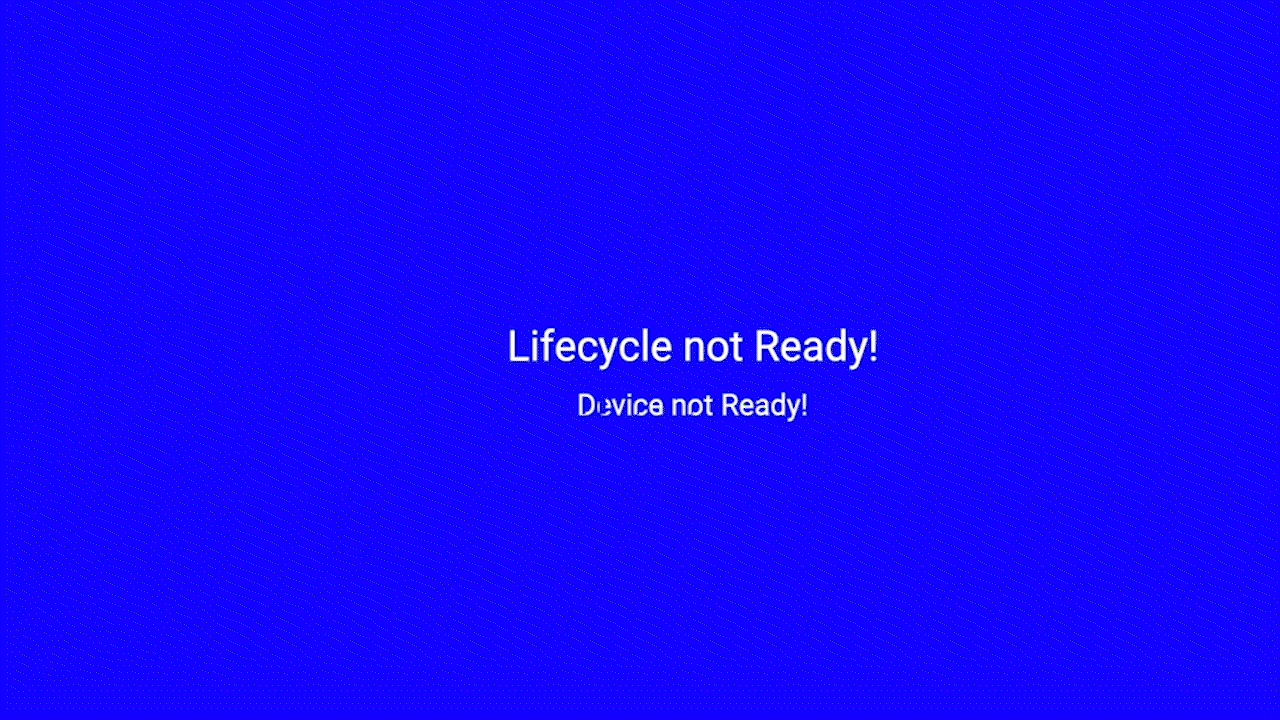
Your final output should look something like this.
Getting started
Installing Lightning
Using any method you prefer, (git clone, Github desktop client, or another method) use the URL
https://github.com/rdkcentral/firebolt-hello-worldand clone the ”Hello World” repo.git clone https://github.com/rdkcentral/firebolt-hello-world.git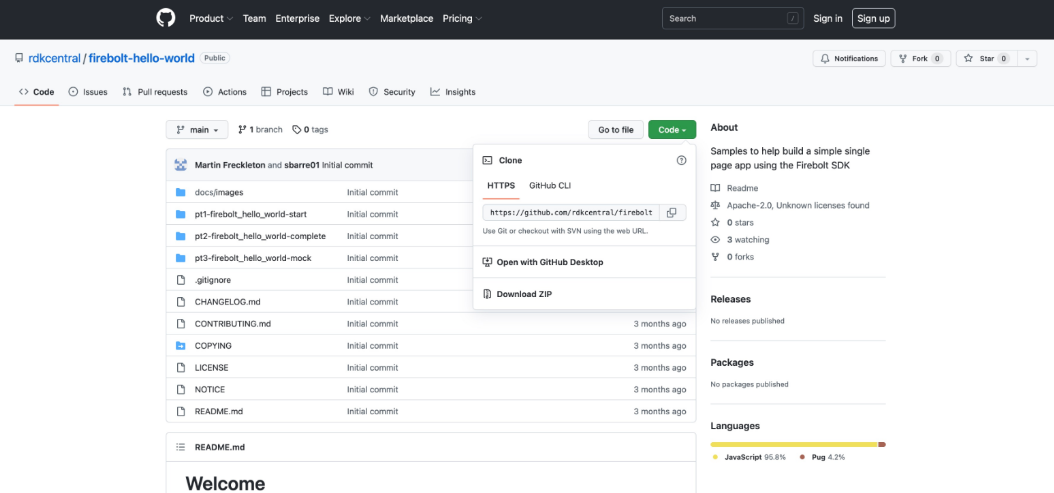
Open your command-line interface (CLI) tool and change your directory to the repo you just cloned.
cd firebolt-hello-world/pt1-firebolt_hello_world-startWith CLI in the
hello_worlddirectory, run the following command. This will install thepackage.jsonfile and any other dependencies.npm installDepending on your machine, you may need to install pug, an HTML pre-processor. If it continues to show an error, or you see something like “Error: Cannot find module 'pug',” then run the command
npm install pug.In your CLI, use the commands:
npm run buildand then:
npm run devThis will build the package.json file in the directory and compile it with all the assets, including a source map. Ideally, this should make it easier to check for errors. After you've run
npm run buildandnpm run dev, your default browser willl pop up and you should see: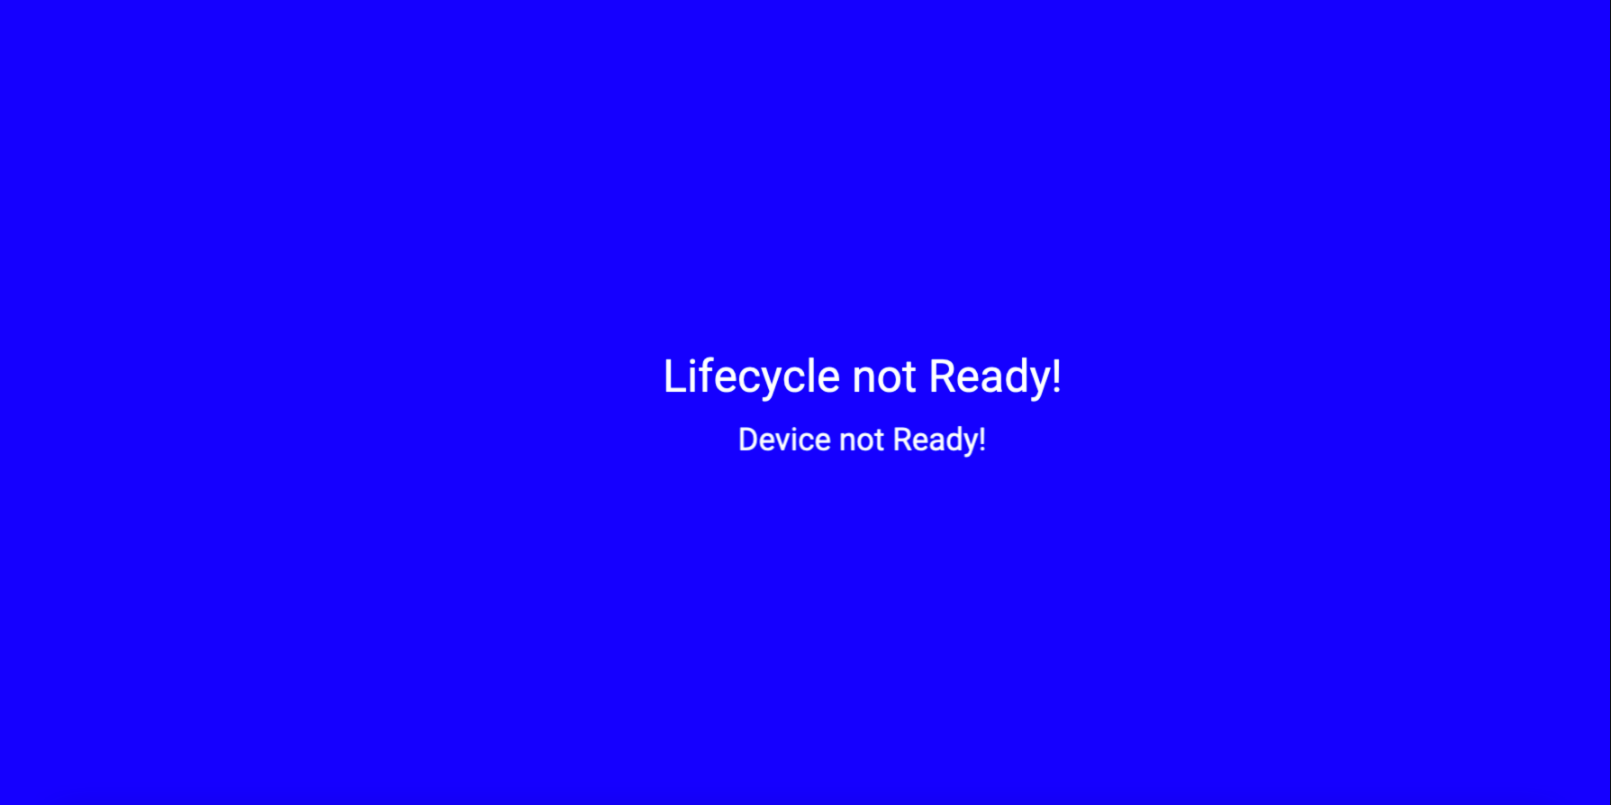
Installing Firebolt
In the CLI, use the command:
npm install @firebolt-js/sdkAfter running that command, you’ll run the following commands:
npm run buildnpm run dev
Importing Device and Lifecycle modules from Firebolt
Go to the ”Hello World” repo you downloaded and open firebolt-hello-world/pt1-firebolt_hello_world-start/src/App.js within the App.js file. Then, add the following line of code right below the other import(s) to add the Device and Lifecycle modules to your app:
import { Lifecycle, Device } from '@firebolt-js/sdk';
Adding functionality to your app
While still in the
App.jsfile, go to the following line:{... _active() { } }Notice that the
_active()method is how the Lightning framework initiates your app and is not part of Firebolt .After
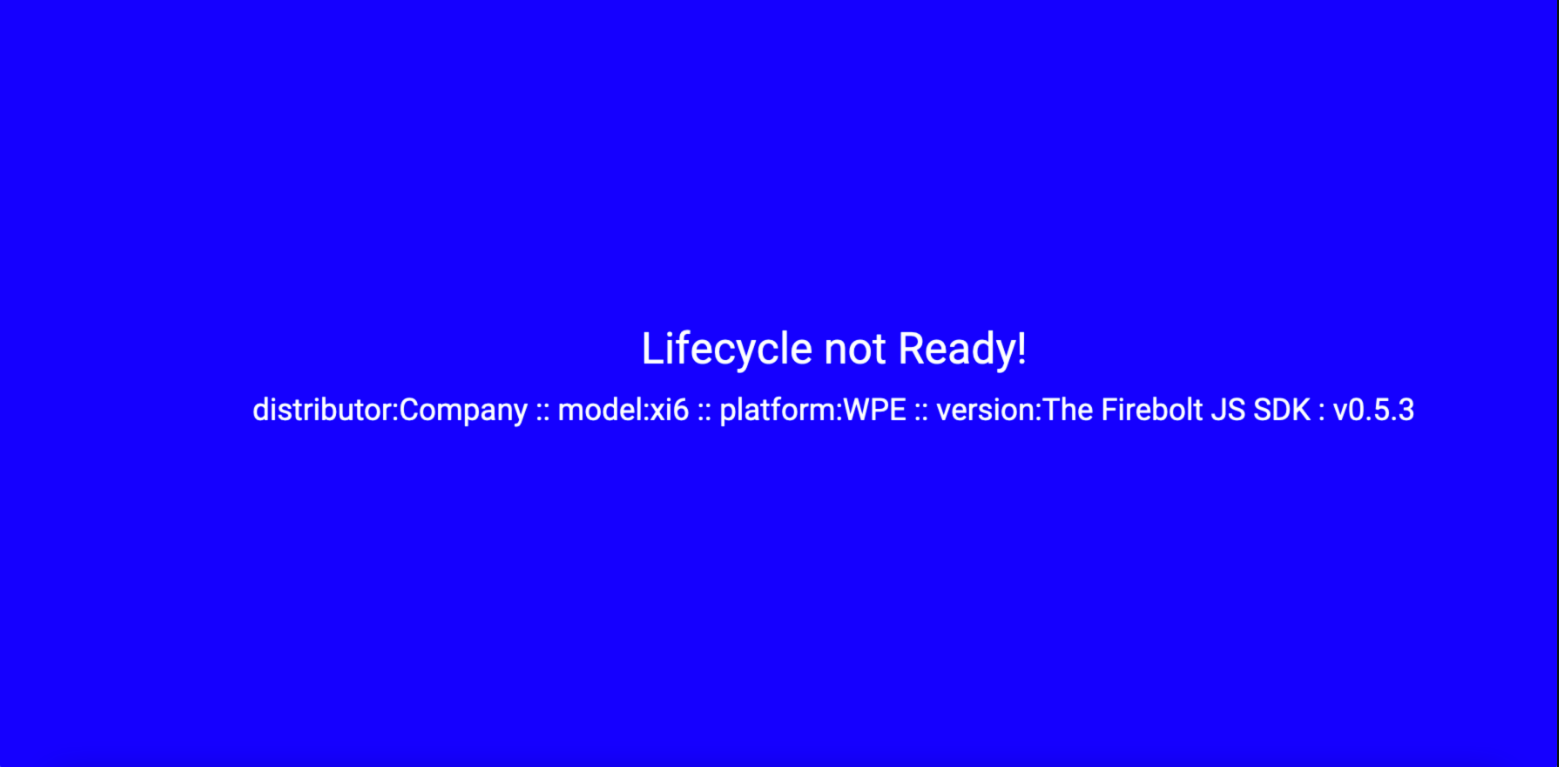
_active() {, is where you put your Firebolt code. Add the following Firebolt code on a new line:Device.distributor() .then(distributor => { const deviceDistributor = 'distributor:' + distributor; this.tag('Device').text.text = deviceDistributor + ' :: '; }); Device.model() .then(model => { const deviceModel = 'model:' + model; this.tag('Device').text.text += deviceModel + ' :: '; }); Device.platform() .then(platform => { const devicePlatform = 'platform:' + platform; this.tag('Device').text.text += devicePlatform + ' :: '; }); Device.version() .then(version => { const deviceVersion = 'version:' + version.sdk.readable + ' : v' + version.sdk.major + '.' + version.sdk.minor + '.' + version.sdk.patch; this.tag('Device').text.text += deviceVersion; });This will append the
Device()text field with the appropriate FireboltDevice()information and show it on your screen. This is also the module you'd use to check details such as device IDs and manufacturer makes and models.Refresh your browser, and you should now see:
Listening for events
Adding Lifecycle event listeners to your app allows it to respond to the various Lifecycle states your app may go through. Listening for Events has more information for adding event listeners.
In the
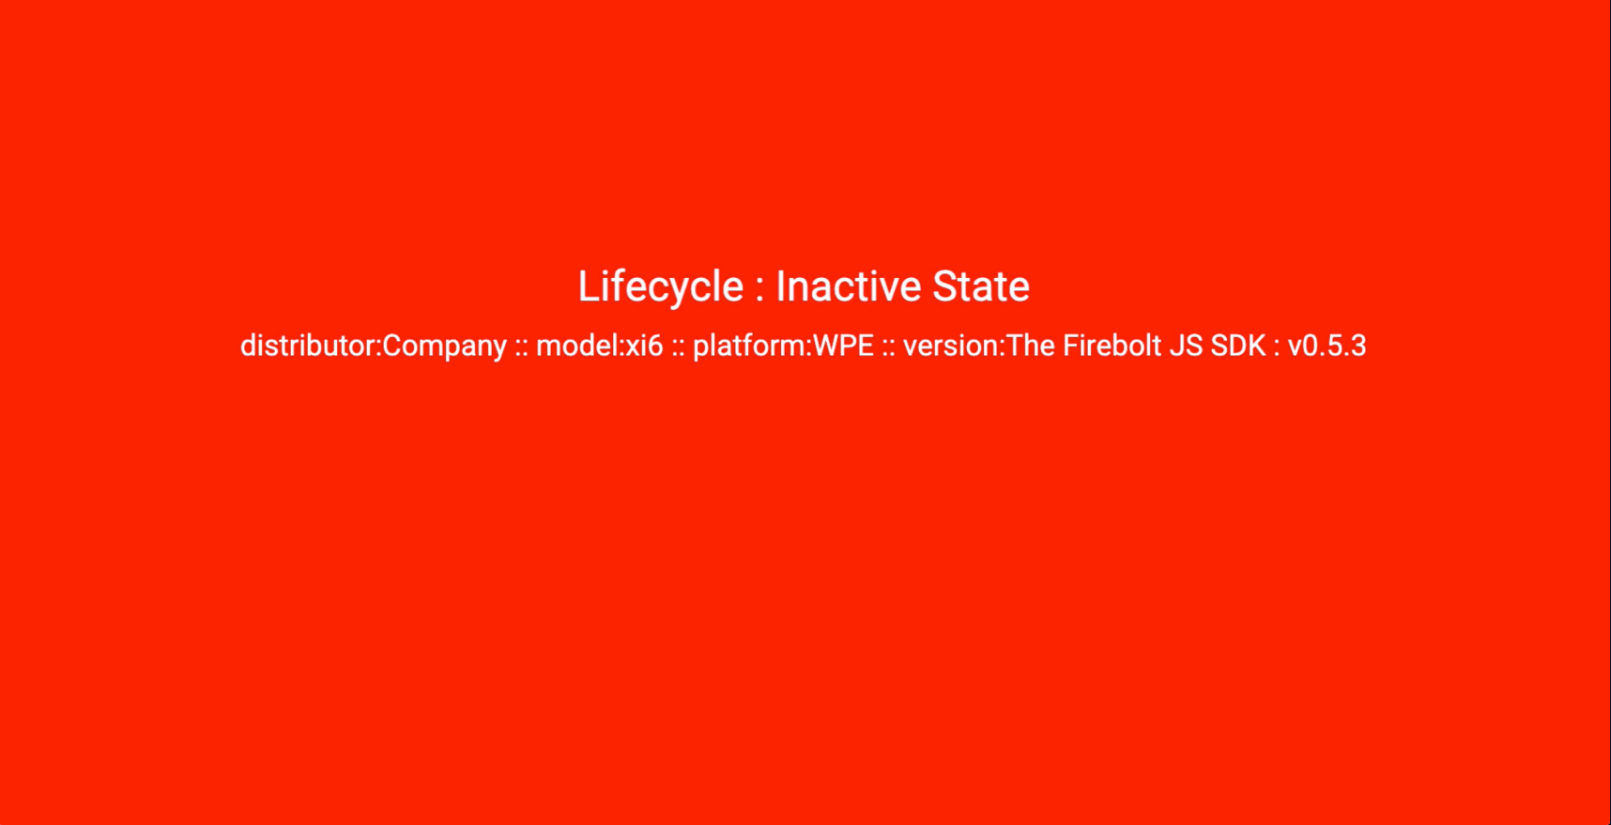
App.jsfile, add the following code at the same level asactive()andinit():_registerLifecycleCallbacks() { Lifecycle.listen((event, value) => { console.log('Lifecycle.listen:', event, value); if (value.state) { console.log('Lifecycle: >> : previous state :' + value.previous, value); console.log('Lifecycle: >> : current state :' + value.state, value); } if (value.state == 'foreground') { console.log('Lifecycle : Foreground State'); this.tag('HelloWorld').color = LifecycleColors.FOREGROUND; this.tag('Lifecycle').text.text = 'Lifecycle : Foreground State'; this.tag('Complete').visible = true; } if (value.state == 'inactive') { console.log('Lifecycle : Inactive State'); this.tag('HelloWorld').color = LifecycleColors.INACTIVE; this.tag('Lifecycle').text.text = 'Lifecycle : Inactive State'; } if (value.state == 'background') { console.log('Lifecycle : Background State'); this.tag('HelloWorld').color = LifecycleColors.BACKGROUND; this.tag('Lifecycle').text.text = 'Lifecycle : Background State'; } }); }Using the functions you've added we're going to call
registerLifecycleCallbacks()in theactive()function. By adding the following code within the_active(), your app will register Lifecycle events and inform Firebolt when your app is ready to launch, also known asLifecycle.ready().
Next, add the following code to the
_active()function.this._registerLifecycleCallbacks(); Lifecycle.ready();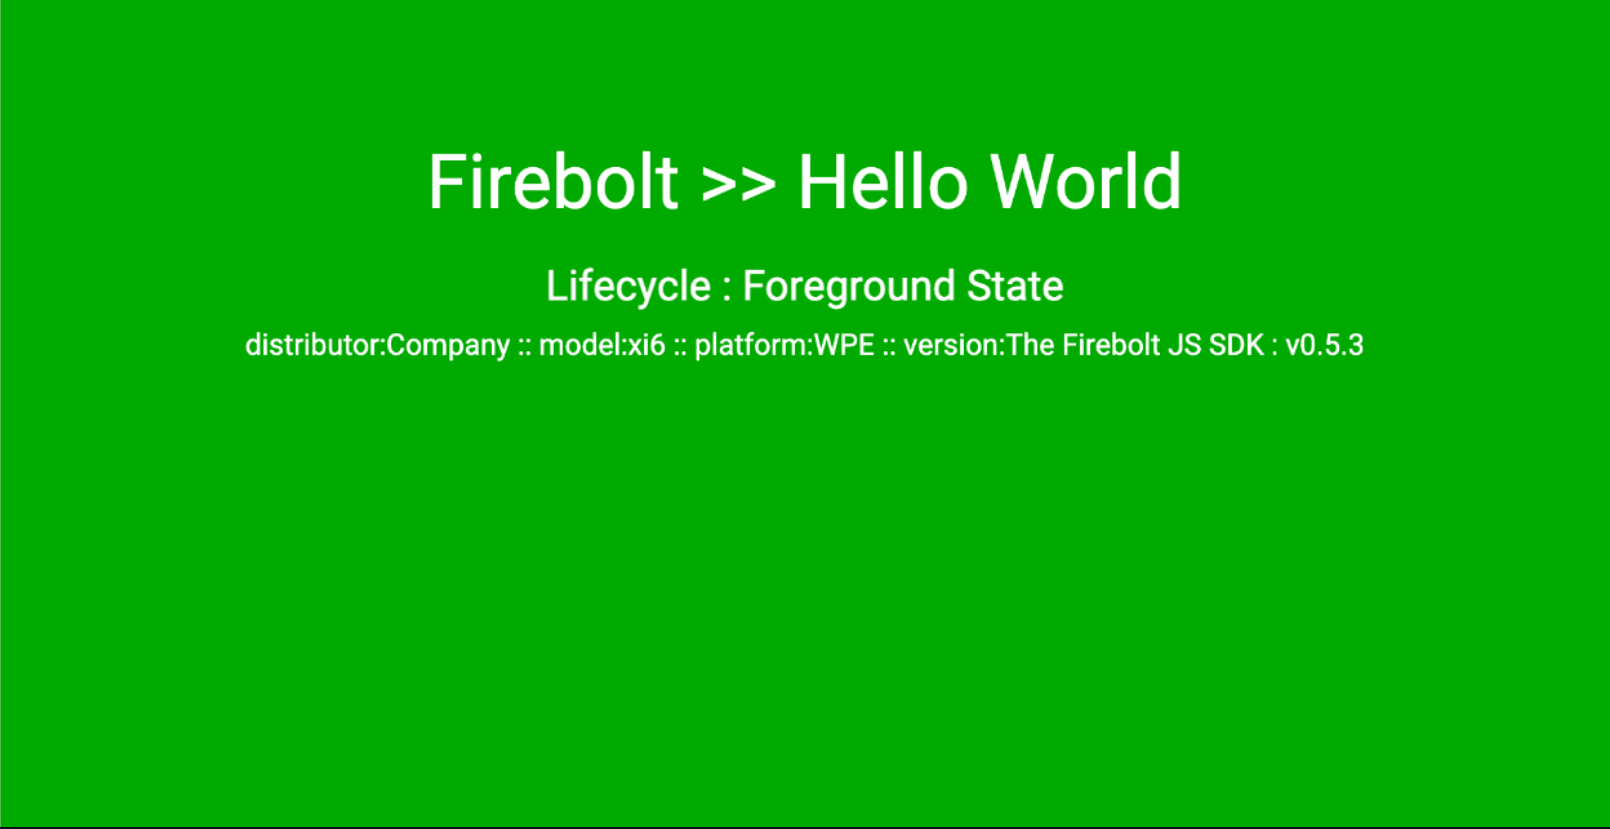
Now refresh your browser. The Lifecycle state and background color should change to reflect the transitions to the
Foregroundstate. It should look like this:
The Lifecycle state and background color change to reflect the transitions to the Foreground state.
You're almost finished. Right now, your app is running in the mock transport layer provided by the Firebolt SDK. That means you can test your app and the Firebolt API, but static predetermined values will be returned. They won't change based on your input. It's a good sanity check but not particularly robust. However, if you'd like to test your app and see dynamic values, you can use the mock Firebolt application.
Using the Mock Firebolt application
Begin setting up
For an overview of how to set up Mock Firebolt, visit How to use Mock Firebolt.
To use the Mock Firebolt application, repeat all the steps above in “Getting Started," but make these changes:
Clone the https://github.com/rdkcentral/mock-firebolt repository instead of the one provided. This contains the dependencies that allow your app to connect to Mock Firebolt.
git clone https://github.com/rdkcentral/mock-fireboltNext, change the directory to reflect the newly cloned repo.
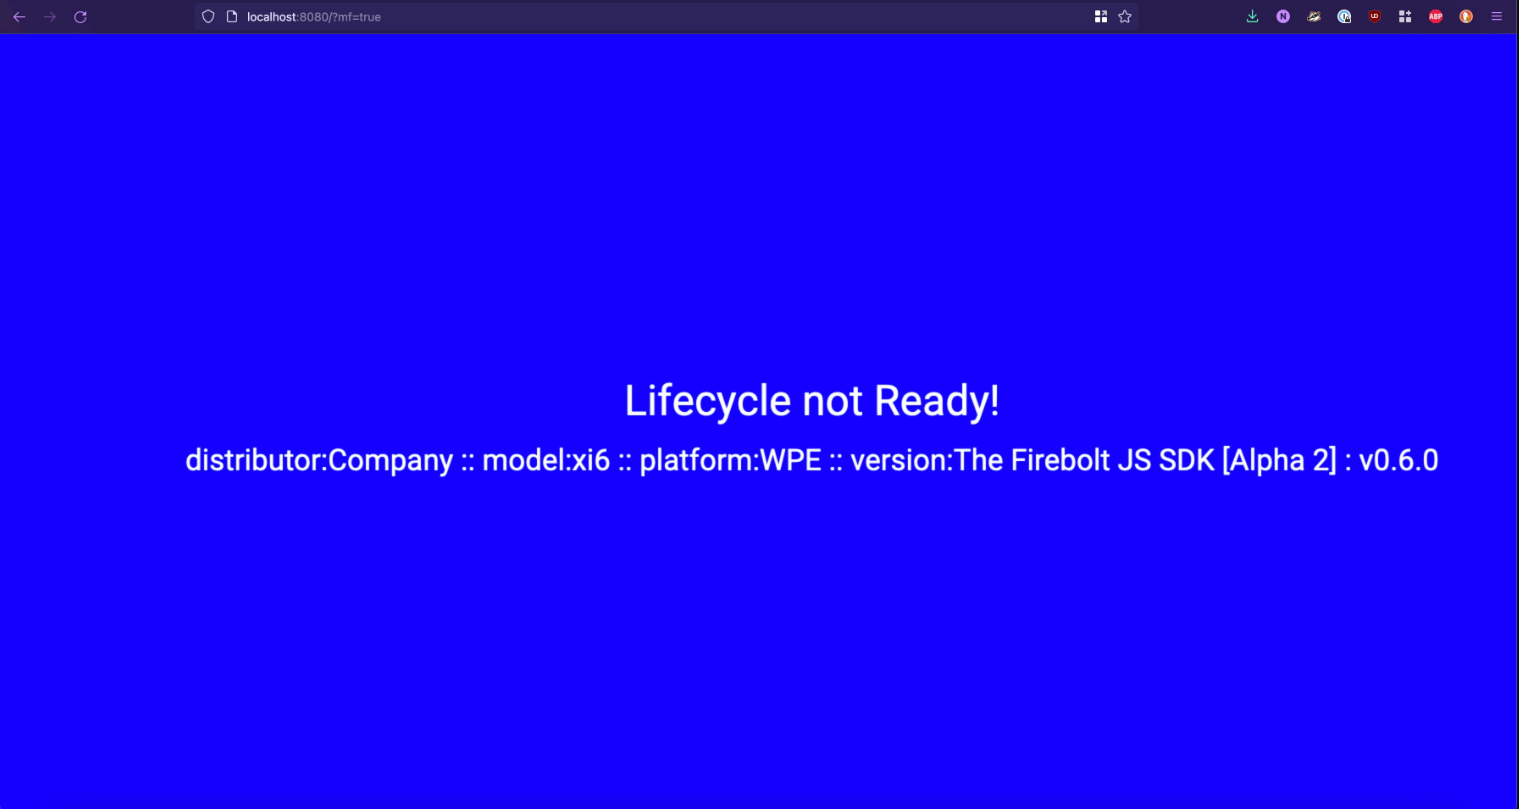
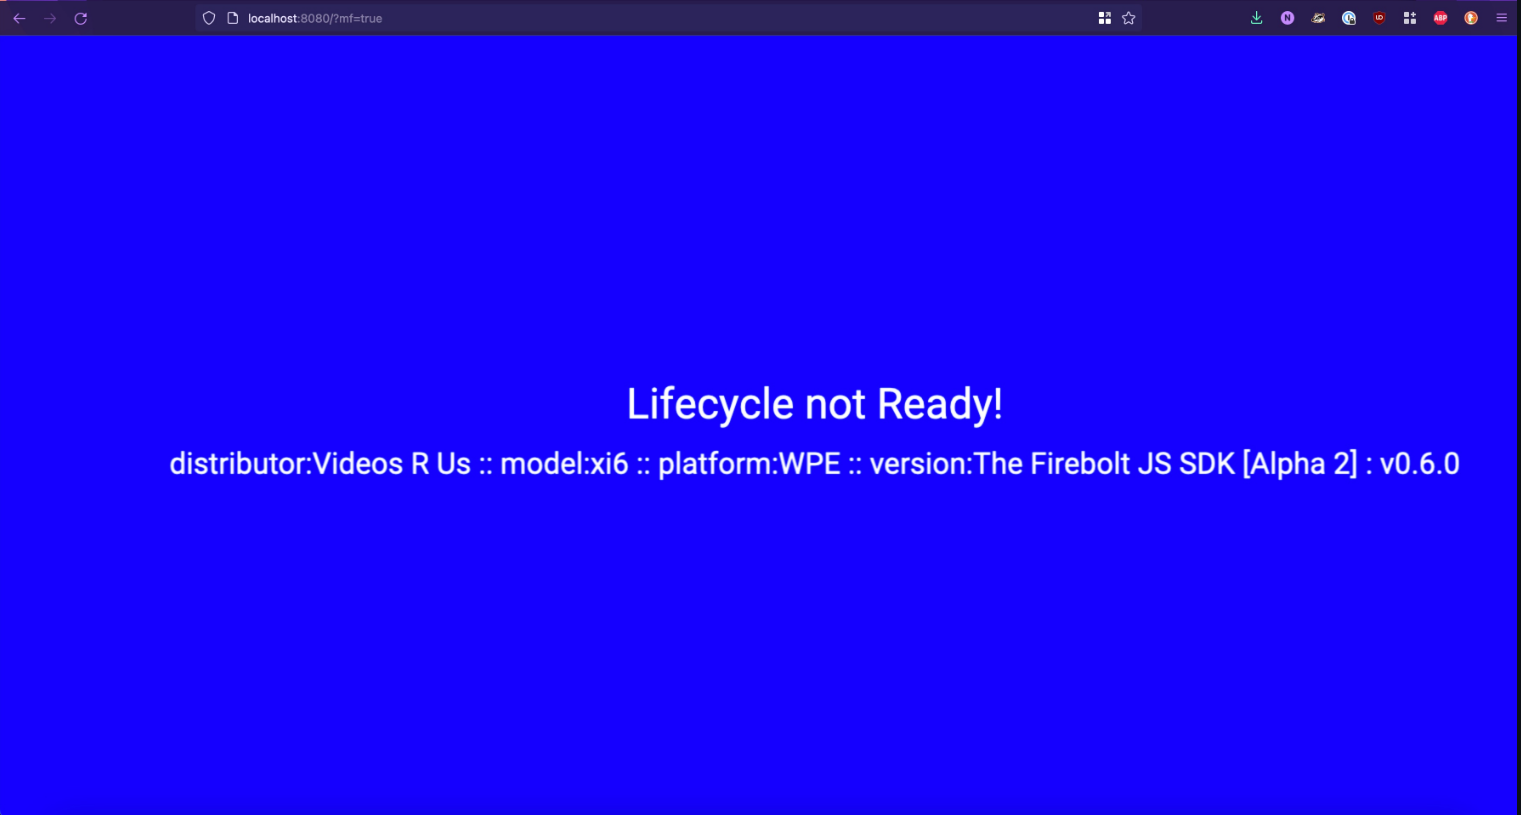
cd pt3-Firebolt_hello_world-mockFollow the rest of the steps as written in “Getting Started”. With your browser open, append
?mf=trueto the end of the URL above. It should look something like this: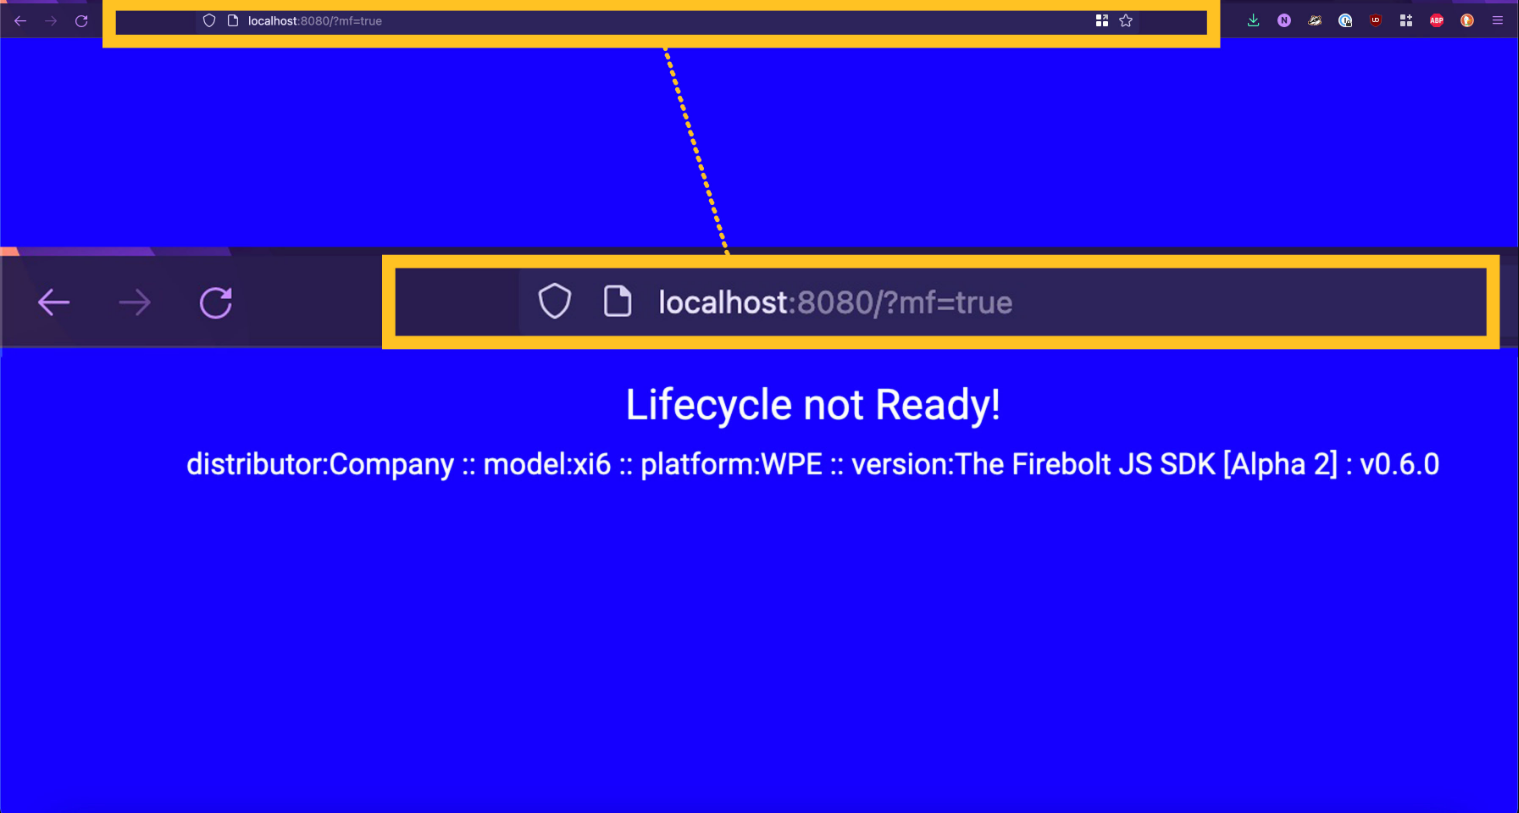
Connect Hello World with Mock Firebolt
1. Open a new window/tab in your command-line interface (CLI) tool and change the directory to
cd [filepath]\mock-firebolt-os, then run the following command:cd serverYou should still have another CLI window open to the Hello World repo.
Run these commands in the order as they’re shown:
npm install
npm run clean
npm run build:core
npm run build:mf
Then, In the CLI window, run the following command:
npm run devMock Firebolt OS is now up and running.
Open a new CLI window and type in the following commands:
cd cli
npm install
Then change the directory to:
cd srcNow you can modify the Hello World Firebolt App using the CLI.
Changing the Distributor from “Company” to “Videos R Us”
In the CLI window, where your current directory is $ src %, use the command:
node cli.mjs --upload ../examples/device-distributor-1.json
Refresh your browser, and you'll see the distributor go from “distributor: Company” to “distributor: Videos R Us.”
Hello world examples
Change the device model
To change the model of the device from model xi6 to xi3000, for example, use the command:
node cli.mjs --upload
Change your app's Lifecycle
To send events such as methods and result keys use the command:
node cli.mjs --event
To change the lifecycle, use the command above along with an example file path and a Lifecycle .json file to change the state of the "Hello World App". It should look something like this:
node cli.mjs --event ../examples/lifecycle-initializing-to-inactive.event.json
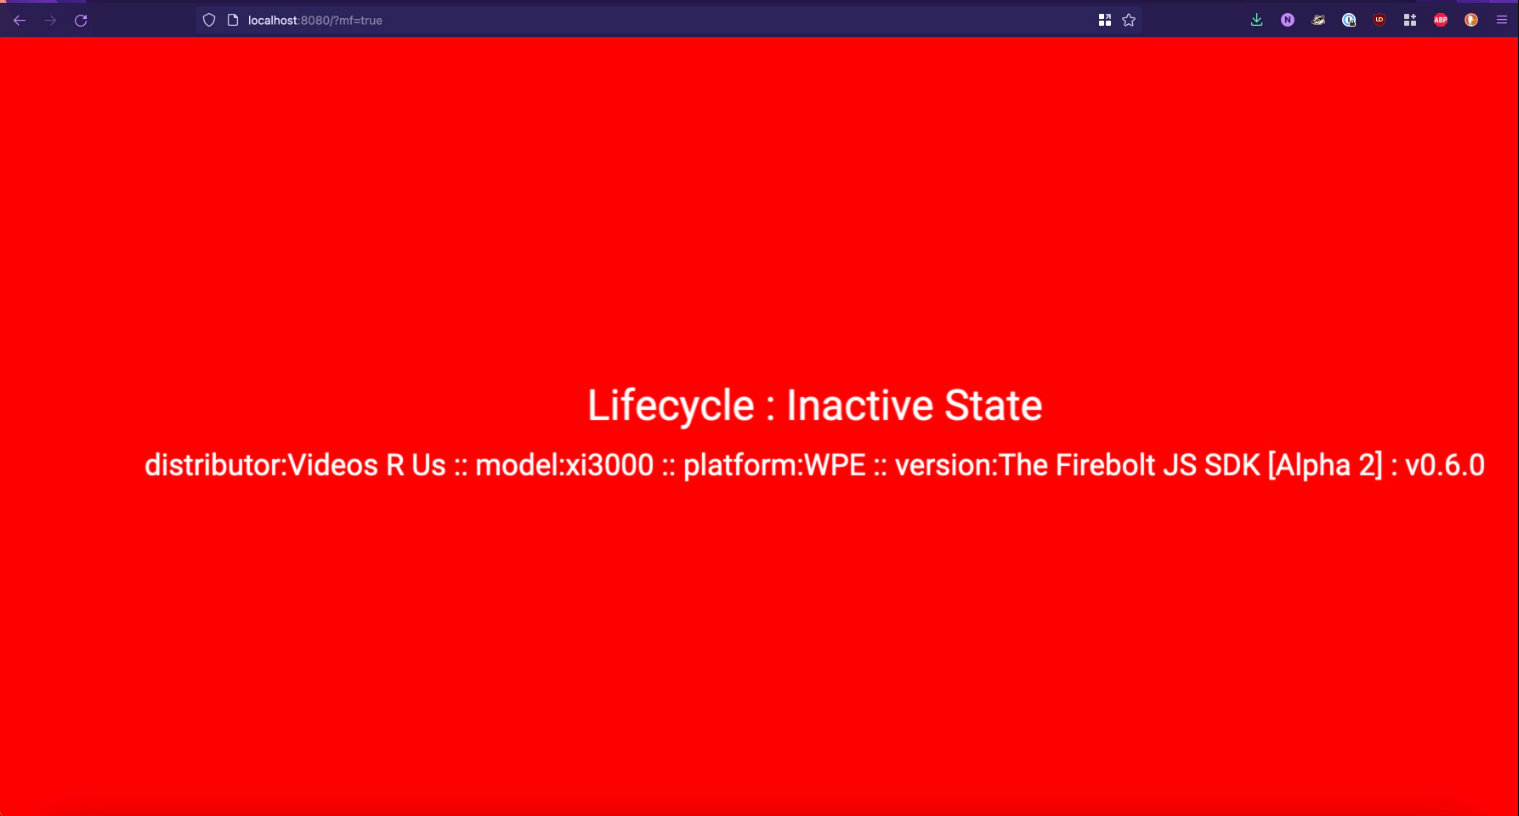
An example of going from inactive to the foreground state would look something like this:
node cli.mjs --event ../examples/../examples/lifecycle-inactive-to-foreground.event.json
Congratulations on making your first Firebolt app!
Now that you’ve finished this guide, you know how to:
Install Firebolt onto your device.
Import Firebolt modules.
Use the Device module to get the device information from where your app is running.
Use the Lifecycle module to ensure your app is ready to run.