In this practical guide, you'll learn how to set up and use Mock Firebolt.
Mock Firebolt is an App test tool that allows you to test your Firebolt® Application. For instance, it will enable testing branches of your code which are otherwise hard or impossible to test based on the STB/TV hardware you have available or enable testing of unexpected responses from Firebolt®.
For example, this might be used:
By a developer with only an STB to get Firebolt® to answer as if it is a TV (or vice versa).
To test variations of accessibility settings, advertising settings, etc.
To send and test events in your App to ensure your code handles events correctly.
To test how the App responds to errors from the Firebolt® SDK.
To test slow responses from the Firebolt® SDK.
To test deep links (
navigateTo) within the App.
Note: The standard Firebolt® SDK has a set of static mock responses built-in, but it is not controllable or extensible.
Since the Firebolt® SDK does not validate parameters on method calls, you can also use Mock Firebolt to validate that your invocations of Firebolt® methods are correct.
Prerequisites
This Mock Firebolt guide is designed with the following assumptions:
You have some experience with the basics of programming (building Apps, working with APIs, etc.) and have some experience working with the JavaScript programming language. This guide does not explain the JavaScript language.
You understand the basics of App file structures and concepts like repositories.
You understand how Git repos work and how to clone repositories.
You understand how to use the command-line interface (CLI) and common CLI tools.
You understand JavaScript run-time tools like Node and NPM.
You understand how to install and use JavaScript packages on your local machine.
What you'll need
A computer running Windows or Linux, or a Mac running macOS.
Ensure you have NodeJS available on your machine. To install Node, navigate to their download page.
Internet access or an alternative way of loading the latest Firebolt® SDK and Lighting™ JavaScript framework onto your computer.
What you'll learn
How to install Mock Firebolt on your local machine.
How to connect your App to Mock Firebolt.
How to tell Mock Firebolt what values to return for Firebolt® method calls (specify “mock overrides”).
What you'll do
Clone the Mock Firebolt repo.
Get the Mock Firebolt server up and running locally on your machine.
Connect your App to Mock Firebolt.
Adjust how Mock Firebolt responds to your App's Firebolt® calls and test how your App responds to those responses.
Important dependency note
Mock Firebolt requires that your client App import 0.6.0-alpha.1 or later of the Firebolt® SDK.
If you use an older SDK version (e.g., 0.5.3), no traffic will make it from the SDK to the Mock Firebolt.
SDK support
Mock Firebolt supports these Firebolt® SDKs: core, manage, discovery.
By default, only the core SDK is enabled, meaning if you try to make calls to methods in the other SDKs, Mock Firebolt will display an error.
This default mode is appropriate for App developers developing third-party content Apps that don't need (nor get) the permissions necessary to use the other SDKs.
For developers building "operator Apps" / "search and discover Apps" which need one or more of these SDKs, when running the Mock Firebolt server, you can pass flags like --manage and/or --discovery to enable the specific SDK(s) desired (and note, when running on an actual device, your App will only have the permissions it has been given).
Getting Started - Get Mock Firebolt on your machine
Step 1 - Clone the Git repository
Set your directory where you want to clone the Mock Firebolt repository. You can name the local folder whatever you'd like.
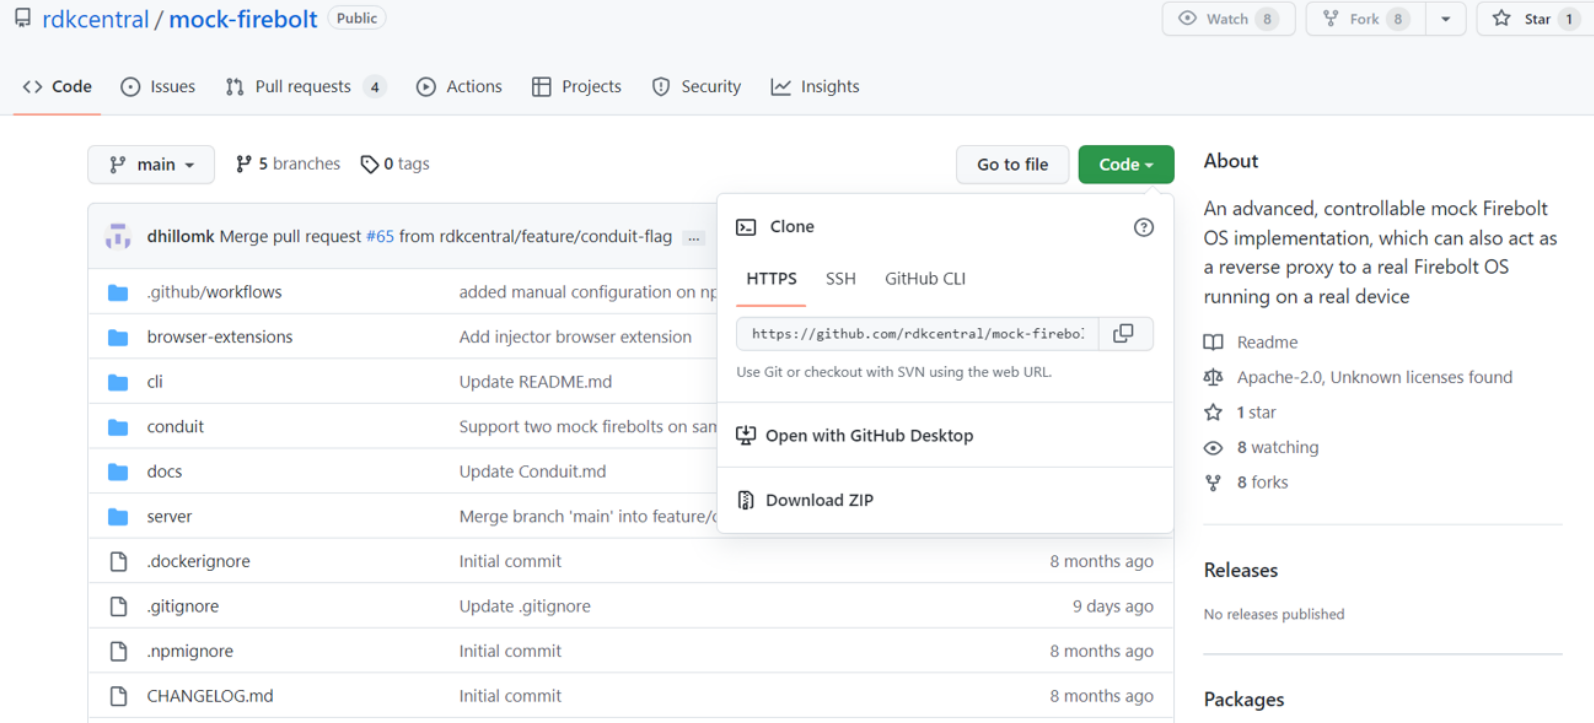
Clone the Mock Firebolt repository from Github: https://github.com/rdkcentral/mock-firebolt
Clone it via GitHub desktop.
Use your CLI to change your directory to Mock Firebolt using the command
cd [filepath]\mock-firebolt.
Step 2 - Start the Mock Firebolt server
Change directories into the
serverdirectory by using the CLI commandcd server.cd serverRun the one-time install command(s) to clean, create, and build a sub-directory.
npm install
npm run clean
This command will build the Core Firebolt® SDK:
npm run build:coreThis command will build the source code within your project:
npm run build:mf
Step 3 - Run the server
In your CLI, run the following command:
npm run dev
Step 4 - Connect Mock Firebolt to your App
To connect Mock Firebolt to your App, you'll need to do the following:
Import the Activate Mock Firebolt script into your App. This script must execute before the Firebolt® SDK does, so you'll want to import the script into your
index.htmlfile. This prevents the script from being bundled if you're using a bundler such as Webpack.When you run your App, you'll need to include
mf=truein your query string.
Once Connected, Mock Firebolt will respond exactly as the stand-alone SDK does, but the difference is you can change the responses it returns.
You can view the Using Mock Firebolt Within Apps documentation for further information on how this works. If you have any troubles getting Mock Firebolt to work on your App, you can check out the Hello World example.
Step 5 - Use Mock Firebolt with your App
Now that your Mock Firebolt session is up and running and connected to your App, you can use the Mock Firebolt commands. This is a useful way to simulate App responses by providing "Mock Overrides."
These responses will only affect your App if your App is built to react to the response. For example, let's say you built your App to have a blue background when the device is a TV, but a red background when the device is a set-top box. If you use node cli.mjs --method device.type --result "TV", then you are telling Mock Firebolt to tell your App that the device is a TV, so when you refresh your App, it should show a blue background. If your App does not specify differences between devices, then you will not see any changes.
Anytime you execute a command successfully, your CLI terminal will show status: SUCCESS.
Examples
Use Mock Firebolt to simulate a set-top box:
node cli.mjs --method device.type --result "STB"
Now when your App calls Device.type, the response will be STB.
Simulate a Smart TV:
node cli.mjs --method device.type --result "TV"
Now when your App calls Device.type, the response will be TV.
Simulate a user who prefers Spanish:
node cli.mjs --method localization.language --result "es"
Now when your App calls Localization.language, the response will be es.
Simulate a user who prefers French:
node cli.mjs --method localization.language --result "fr"
Now when your App calls Localization.language, the response will be fr.
Simulate Closed Captions being on:
Create a file called accessibilityClosedCaptionsOn.json containing:
{
  "methods": {
    "accessibility.closedCaptionsSettings": {
      "result": {
        "enabled": true,
        "styles": {
          "fontFamily": "Monospace sans-serif",
          "fontSize": 1,
          "fontColor": "#ffffff",
          "fontEdge": "none",
          "fontEdgeColor": "#7F7F7F",
          "fontOpacity": 100,
          "backgroundColor": "#000000",
          "backgroundOpacity": 100,
          "textAlign": "center",
          "textAlignVertical": "middle"
        }
      }
    }
  }
}
Then execute the following command:
node cli.mjs --upload /path/to/accessibilityClosedCaptionsOn.json
Now, when your App calls Accessibility.closedCaptionsSettings, the response will be:
{
  "enabled": true,
  "styles": {
    "fontFamily": "Monospace sans-serif",
    "fontSize": 1,
    "fontColor": "#ffffff",
    "fontEdge": "none",
    "fontEdgeColor": "#7F7F7F",
    "fontOpacity": 100,
    "backgroundColor": "#000000",
    "backgroundOpacity": 100,
    "textAlign": "center",
    "textAlignVertical": "middle"
  }
}
Simulate Voice Guidance being off:
Create a file called accessibilityVoiceGuidanceOff.json containing:
{
  "methods": {
    "accessibility.voiceGuidanceSettings": {
      "result": {
        "enabled": false,
        "speed": 5
      }
    }
  }
}
Then execute the following command:
node cli.mjs --upload /path/to/accessibilityVoiceGuidanceOff.json
Now, when your App calls Accessibility.voiceGuidanceSettings, the response will be:
{
  "enabled": false,
  "speed": 5
}
Simulate a 1920x1080 screen resolution:
Create a file called screenResolution1920by1080.json containing:
{
  "methods": {
    "device.screenResolution": {
      "result": [ 1920, 1080 ]
    }
  }
}
Then execute the following command:
node cli.mjs --upload /path/to/screenResolution1920by1080.json
Now, when your App calls Device.screenResolution, the response will be 1920, 1080.
Testing Events
Simulate a user turning closed captioning on:
Create a file called closedCaptioningOn.event.json containing:
{
  "method": "accessibility.onClosedCaptionsSettingsChanged",
  "result": {
    "enabled": true,
    "styles": {
      "fontFamily": "Monospace sans-serif",
      "fontSize": 1,
      "fontColor": "#ffffff",
      "fontEdge": "none",
      "fontEdgeColor": "#7F7F7F",
      "fontOpacity": 100,
      "backgroundColor": "#000000",
      "backgroundOpacity": 100,
      "textAlign": "center",
      "textAlignVertical": "middle"
    }
  }
}
Then execute the following command:
node cli.mjs --upload /path/to/closedCaptioningOn.event.json
Now, when your App calls Accessibility.onClosedCaptionsSettingsChanged, the response will be:
{
  "enabled": true,
  "styles": {
    "fontFamily": "Monospace sans-serif",
    "fontSize": 1,
    "fontColor": "#ffffff",
    "fontEdge": "none",
    "fontEdgeColor": "#7F7F7F",
    "fontOpacity": 100,
    "backgroundColor": "#000000",
    "backgroundOpacity": 100,
    "textAlign": "center",
    "textAlignVertical": "middle"
  }
}
Commands for Mock Firebolt
To see a list of commands in your terminal window, use the following:
node cli.mjs --help
Command | Intent |
|---|---|
node cli.mjs --help | Use this to pull up the how to use info |
node cli.mjs --user | Target the given user; Overrides the .mf.config.json file, if present. See below |
node cli.mjs --port 3333 | If running Mock Firebolt on a non-standard port. See below |
node cli.mjs --quiet | Don't emit command summary text; helpful for exporting state. See below |
node cli.mjs --health | Performs health check on Mock Firebolt |
node cli.mjs --state | Asks Mock Firebolt to dump its state; handy for debugging |
node cli.mjs --revert | Go back to the way things were when server started (w.r.t. state) |
node cli.mjs --latency 0 | Set min and max latency values to given value |
node cli.mjs --latency 50 --latency 100 | Set min and max latency values to given values; min 1st, max 2nd |
node cli.mjs --method device.type --latency 3000 | Set min and max latency values to given value for given method |
node cli.mjs --method device.type --latency 2500 --latency 3500 | Set min and max latency values to given values for given method; min 1st, max 2nd |
node cli.mjs --mode default | Set mode to DEFAULT; mock overrides used first, OpenRPC examples second |
node cli.mjs --mode box | Set mode to BOX; Only OpenRPC examples used/returned. Overrides unused |
node cli.mjs --method account.id --result "'111'" | Set result for given method the next time it is called |
node cli.mjs --method device.id --errCode -32888 --errMsg "Sad day for you" | Set error code & msg for method |
node cli.mjs --upload ../examples/slow.json | Use this to upload information to the your App. |
node cli.mjs --event ../examples/device-onDeviceNameChanged1.event.json | Send events (methods, result keys expected) |
node cli.mjs --sequence ../examples/events1.sequence.json | Send a timed sequence of events. |
Note: You can also use commands that look like: ./mf.sh --help
Conclusion
Congratulations, you set up Mock Firebolt to test your App!
You now know how to:
Clone the Mock Firebolt repo.
Set it up and connect Mock Firebolt to your App.
Specify how various Firebolt® methods should respond when called, and see how your App reacts.
To continue learning more about Firebolt®, check out our API docs and guides.