The platform powering global entertainment
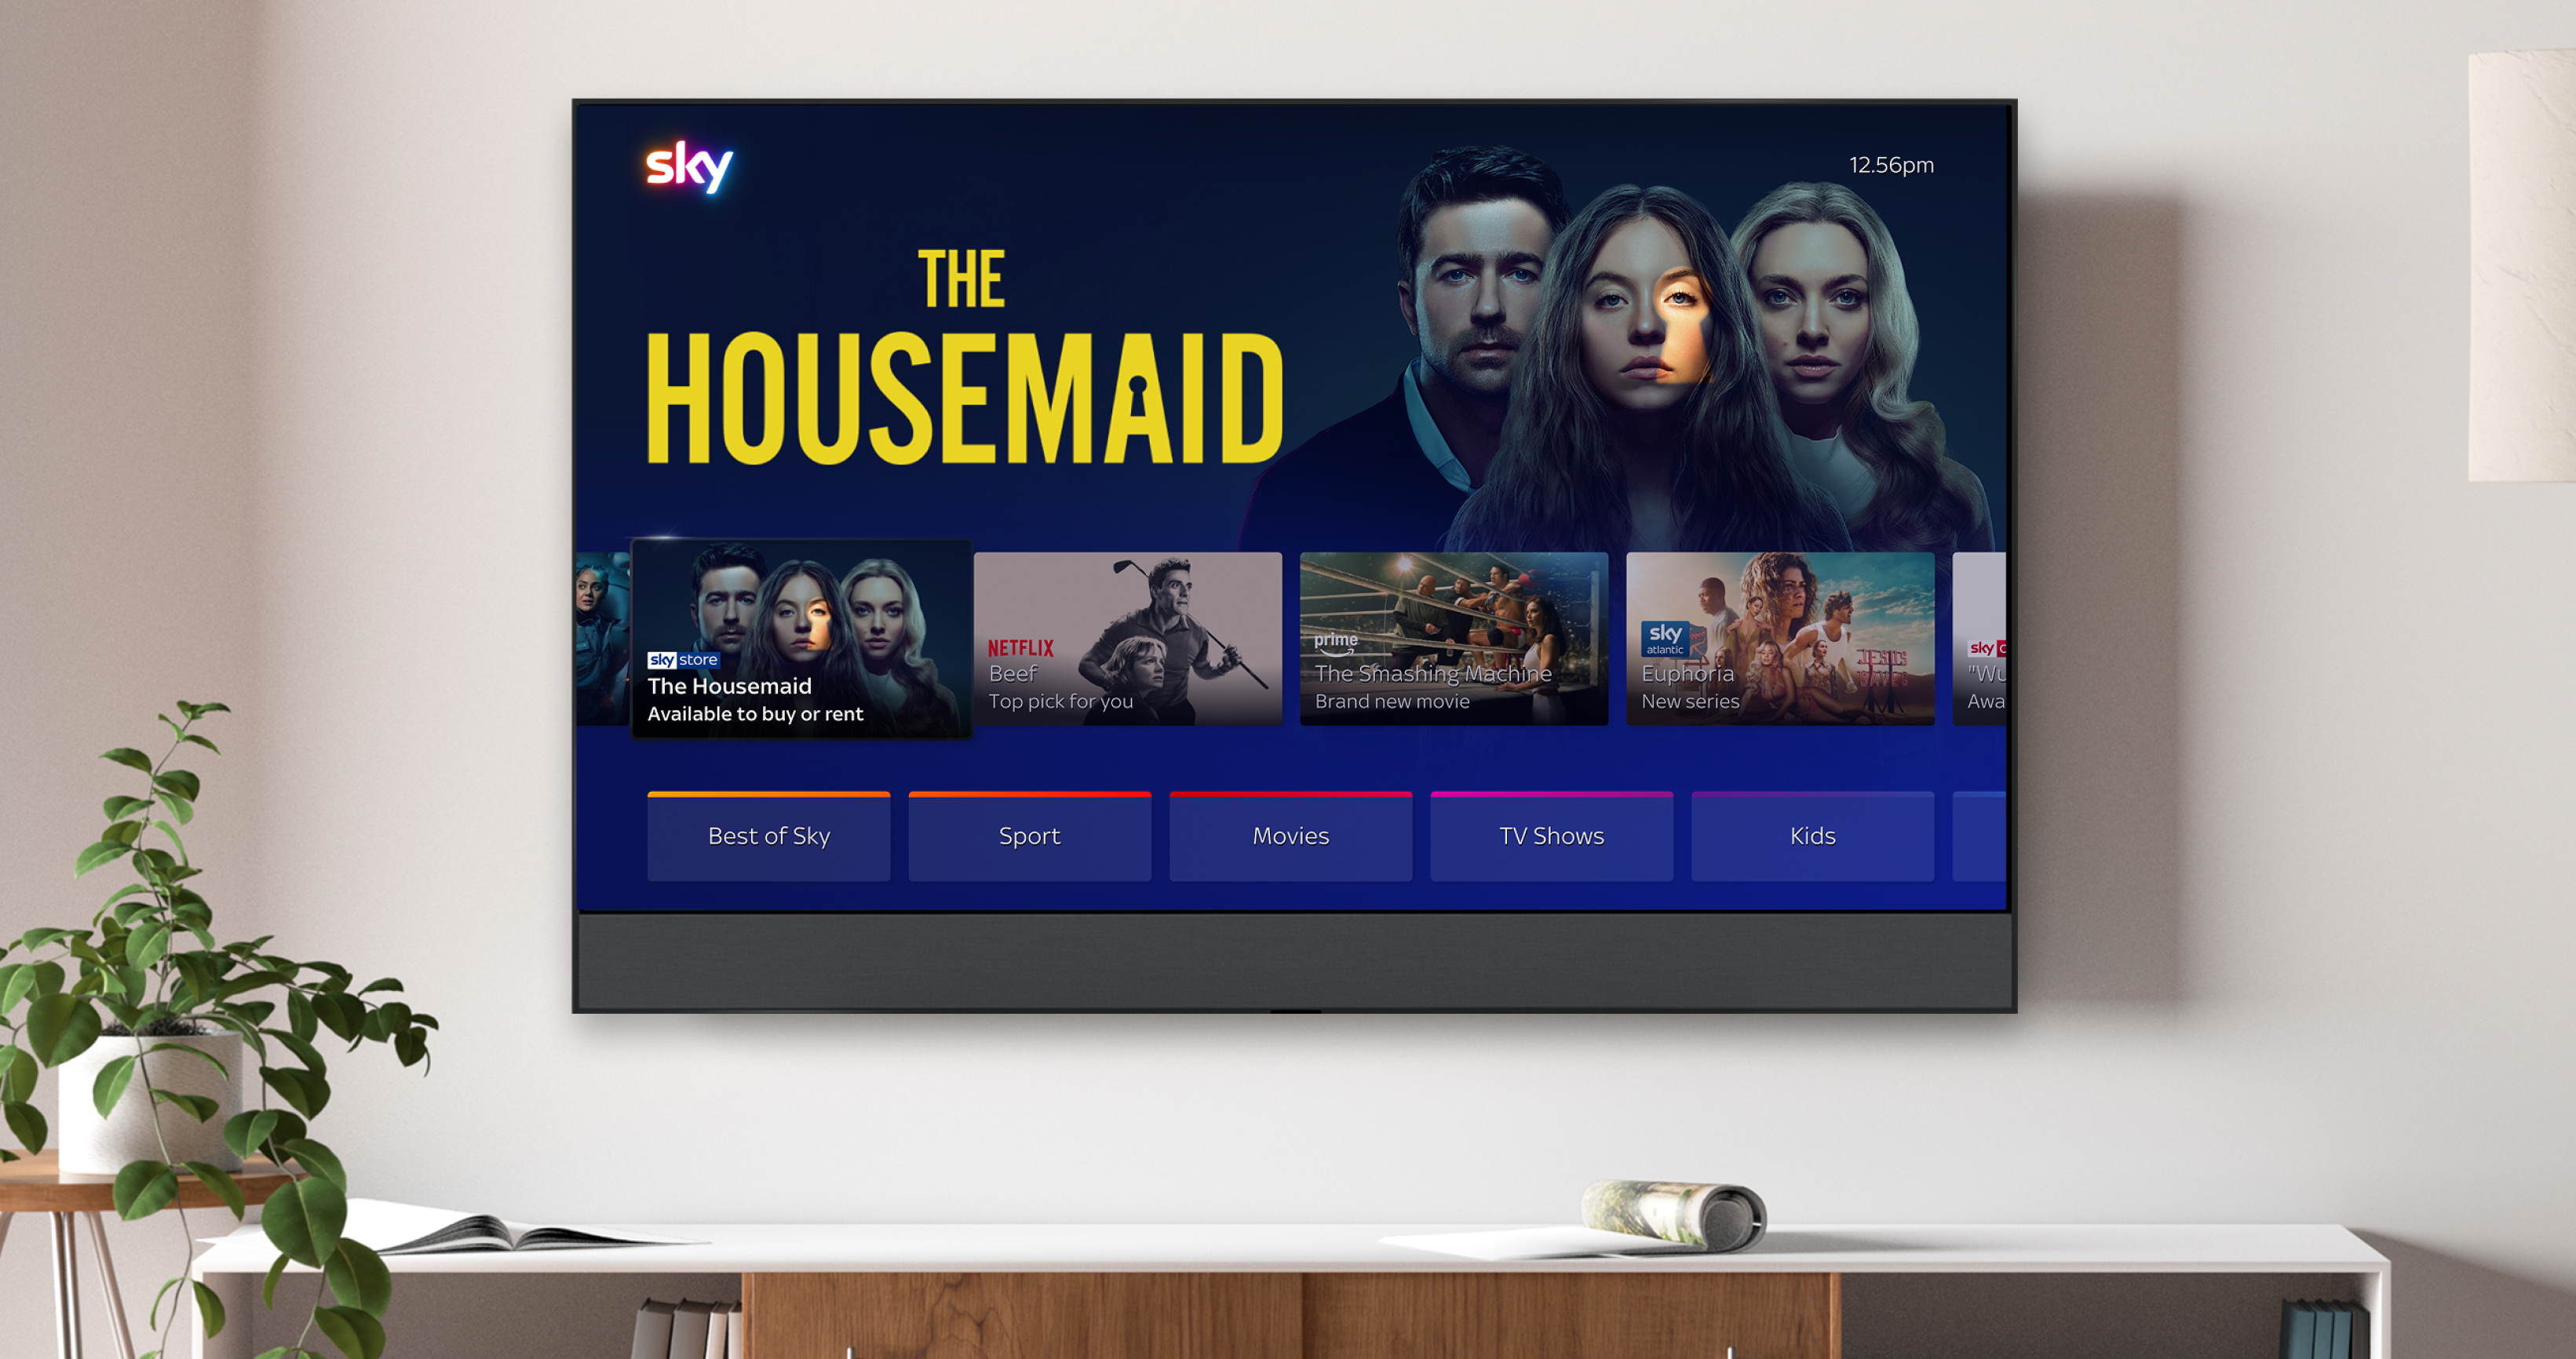
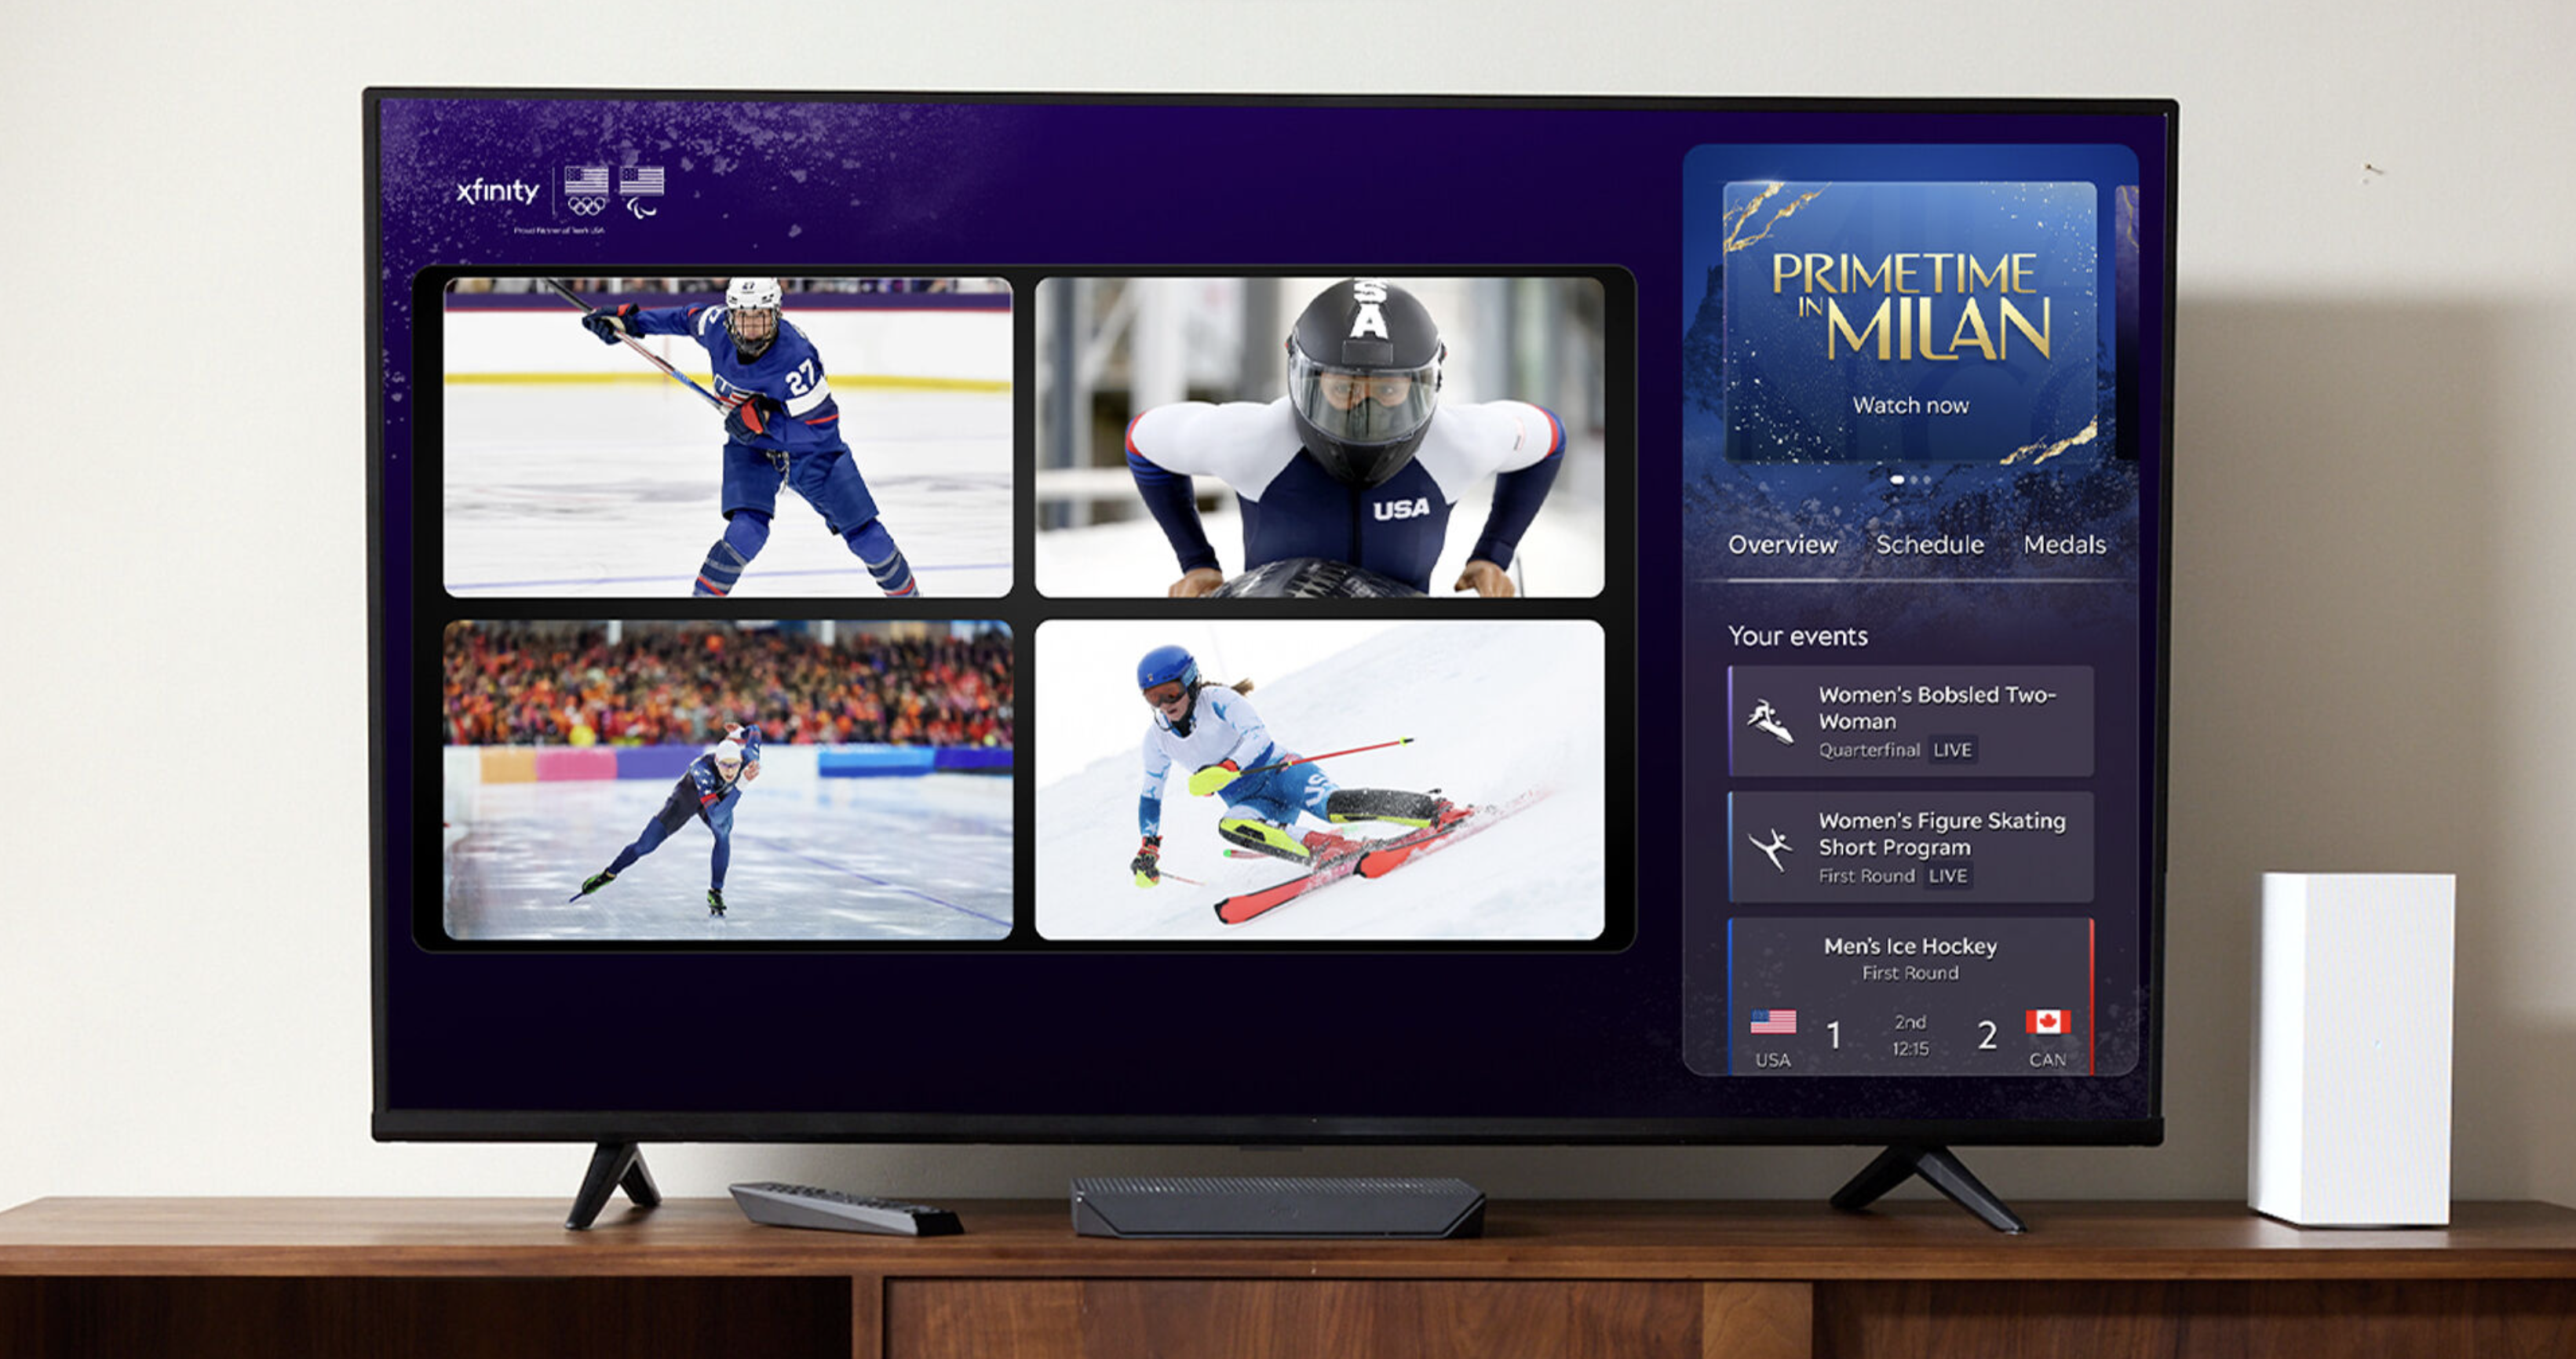
The Comcast developer platform provides the core technology to power Entertainment OS, a best-in-class operating system for seamless, personalized entertainment experiences. Thanks to its global and multi-platform capabilities, Entertainment OS enables your app and content to reach audiences via top international brands on devices such as:
When live TV and OTT streaming run through the same unified system, customers feel the benefit instantly — the entertainment they love is always there, no matter the device.
Technology that brings simplicity to scale
Entertainment OS is built on open source RDK technology, which provides standardized, feature-rich capabilities for video, broadband, and IoT devices. This equips our platform with a tech stack that provides the scale and reliability to process:
![]()
100 million
devices across distributors
![]()
400 million
voice commands per day
![]()
5 billion
streams per week
Our platform also offers extensive features for discovering and accessing content including:
Personalized recommendations
Universal voice search
Integrated search across apps
Robust metadata
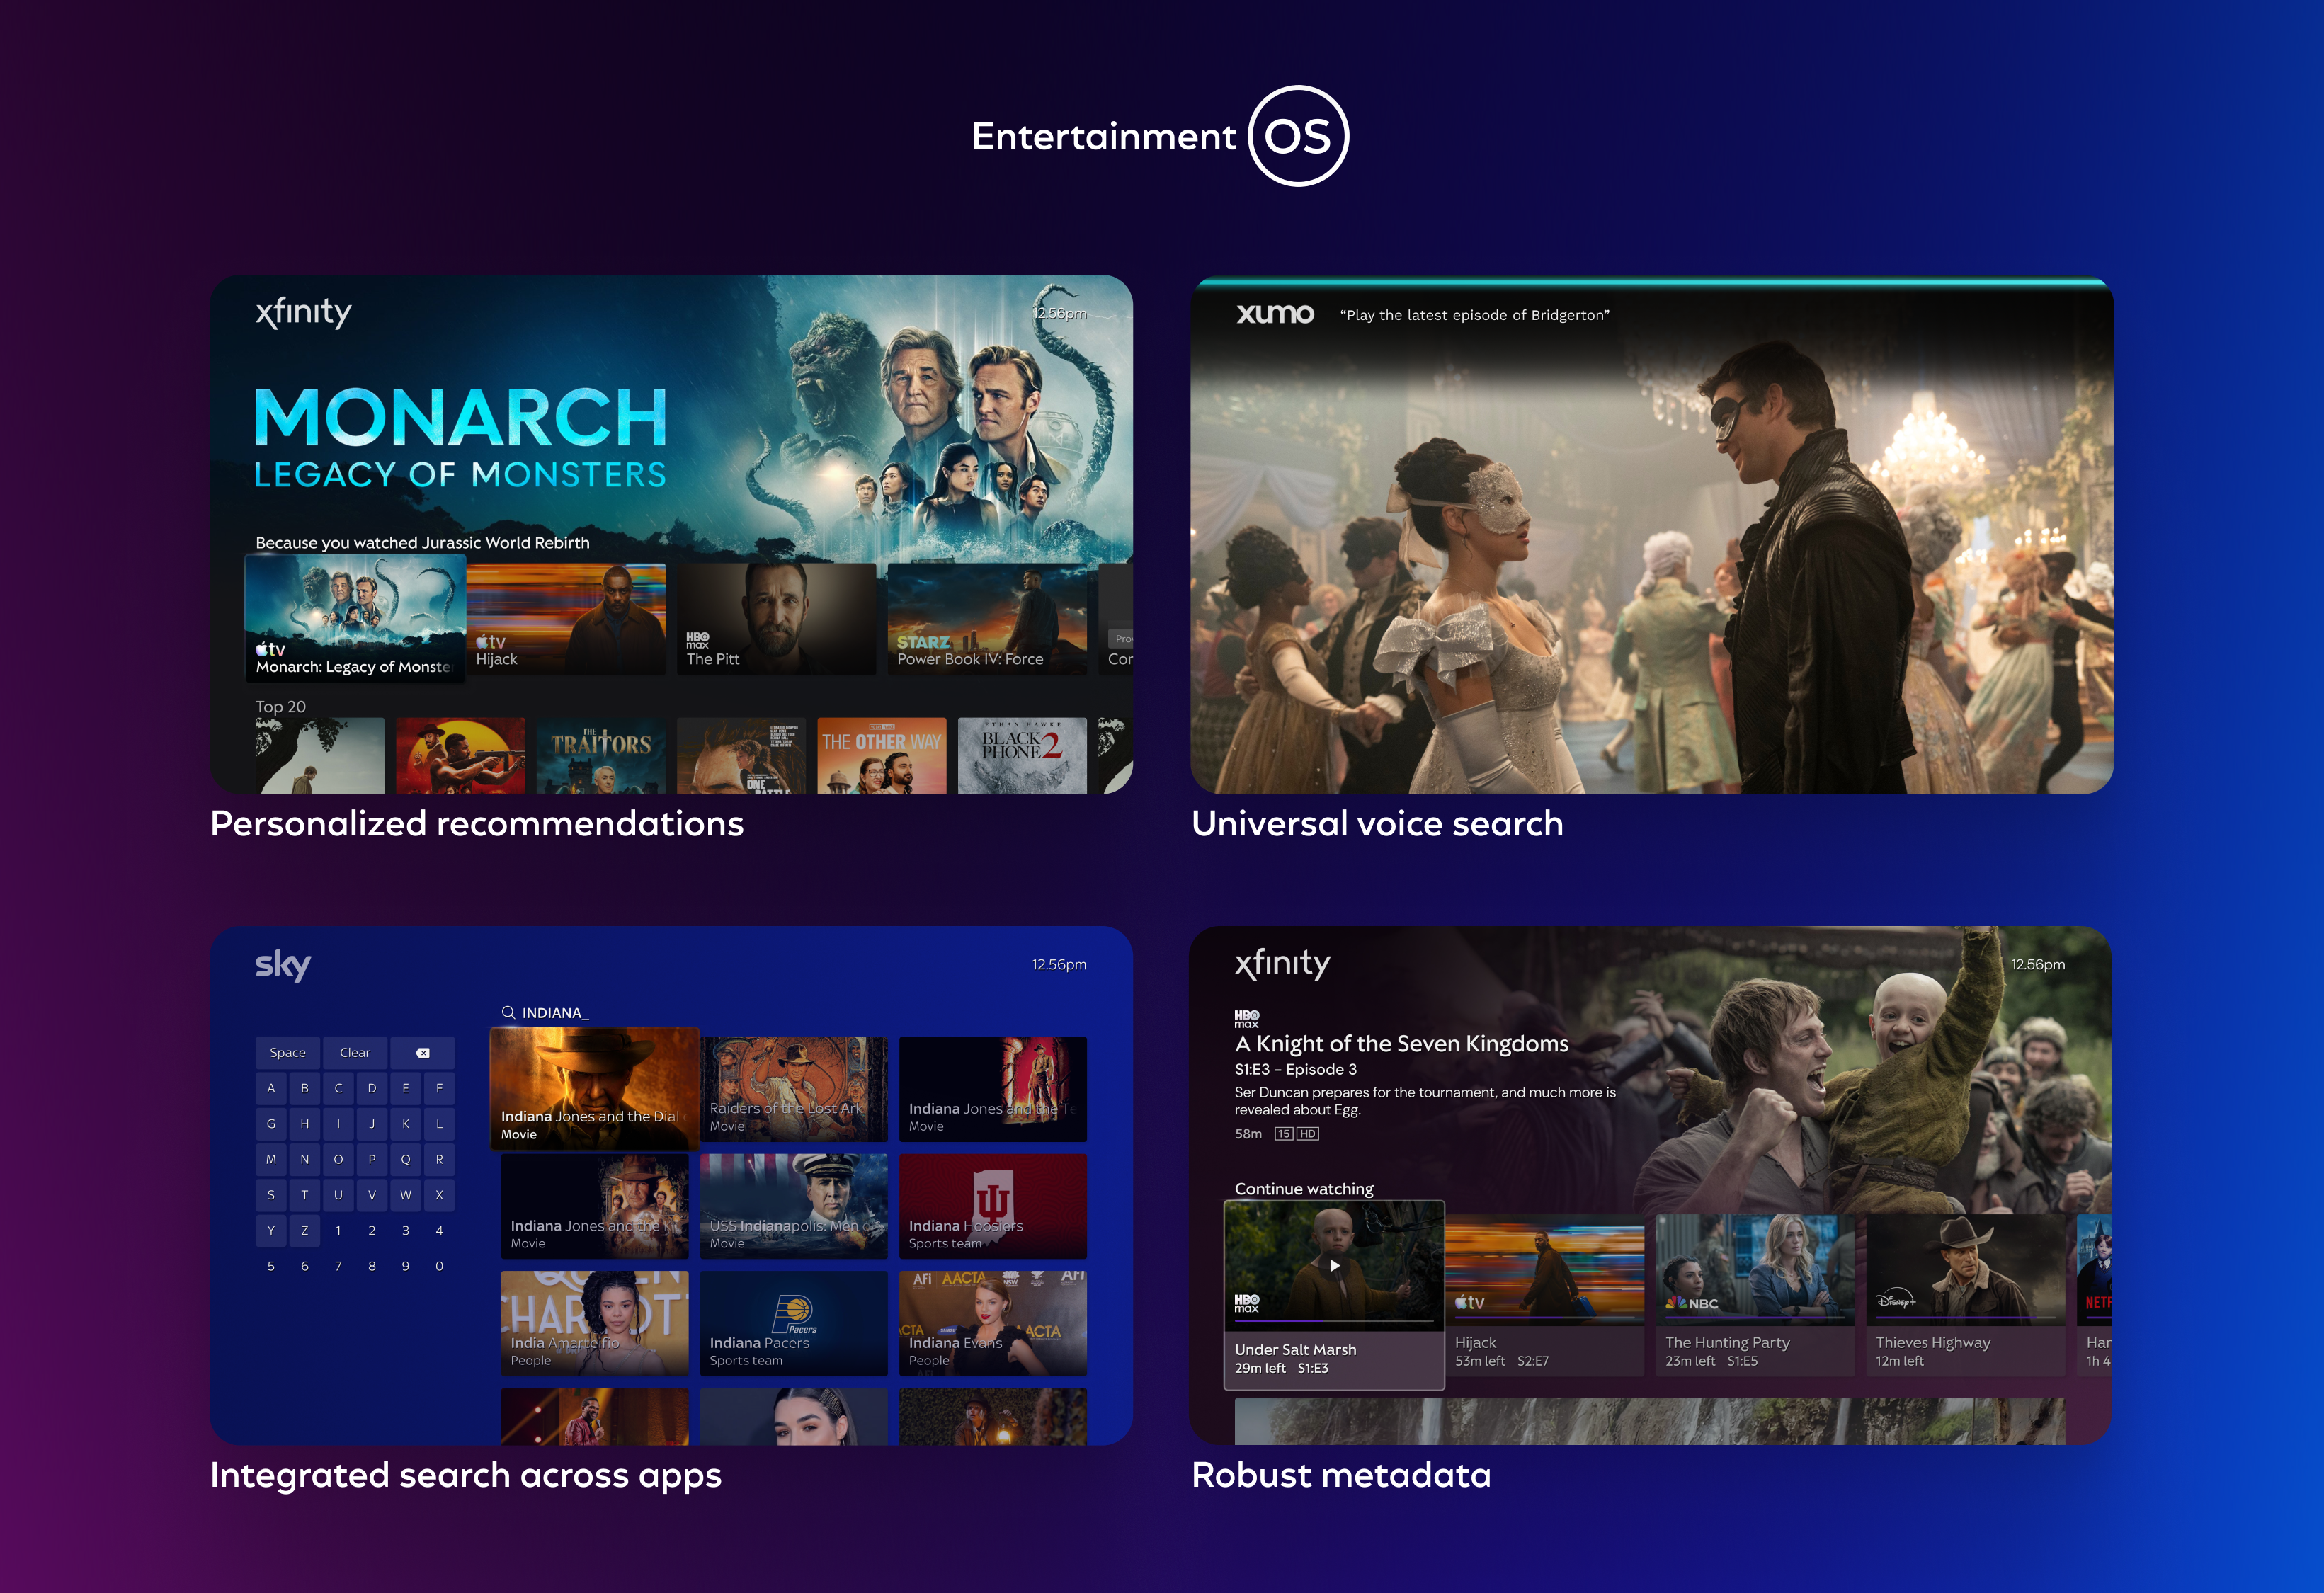
No matter the app, channel, or device, our platform makes it simple and easy to find content regardless of where it resides.